
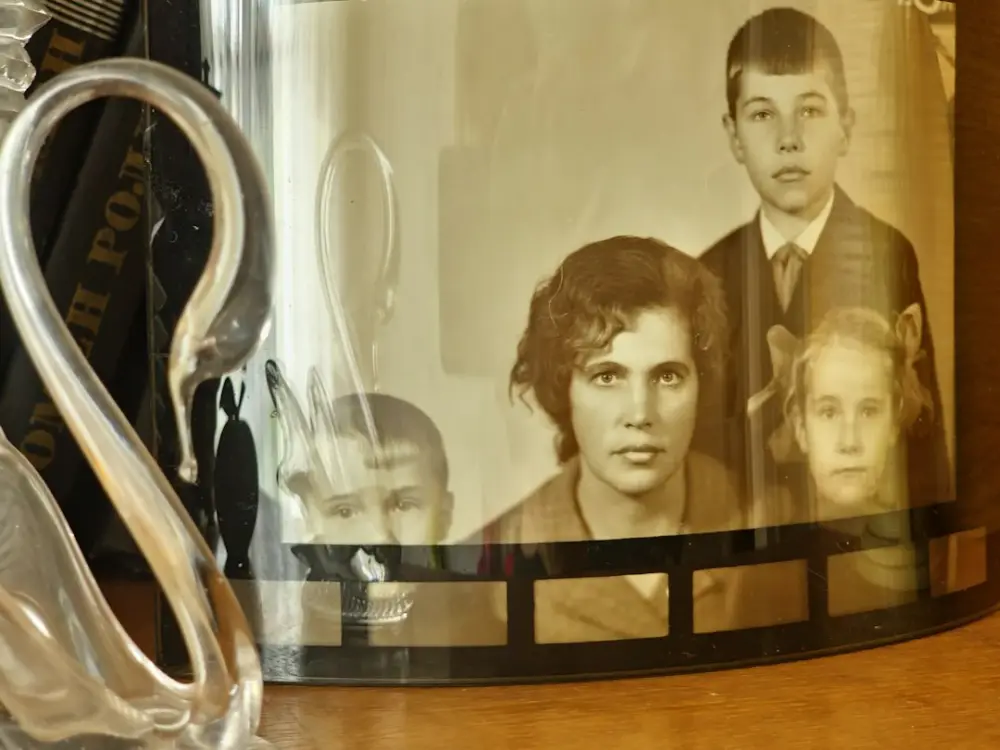
Planning access to family digital archives involves creating a structured system to store, organize, and share digital heirlooms. It ensures that future generations can view and manage photographs, documents, and videos. This process includes selecting secure storage, defining permissions for family members, and following archival standards to prevent data loss or file obsolescence over time.
Unlike temporary folders, a true archive curates high-value records like scanned birth certificates and high-resolution portraits. To ensure long-term accessibility, focus on converting these assets into open-standard formats like .TIFF or .PDF/A. This practical step guarantees that your family’s most important documents remain readable even as hardware and software evolve over the next several decades.
Auditing Your Digital and Physical Records
The first step in planning access is knowing exactly what you own. Most families have records scattered across multiple platforms and physical locations. You might have several hundred photos on an old microSD card from a 2015 camera, a stack of paper report cards in a closet, and thousands of unorganized images on a current smartphone. This fragmentation is the primary obstacle to a functional archive.
Begin by listing your "data silos." This includes physical media like VHS tapes, 8mm film, and printed photo albums, as well as digital locations like old hard drives, laptop downloads folders, and various social media accounts. During this audit, identify which items are unique and irreplaceable. For example, a scanned copy of a great-grandmother’s immigration papers is a high-priority asset, whereas a blurry photo of a meal from three years ago likely is not. Categorizing these items early helps you decide what requires professional digitization and what can be handled with a home flatbed scanner.
Steps to Organize and Digitize Assets
Once you have audited your materials, you need a repeatable process for bringing them into your digital archive. Organization should follow a logic that someone twenty years from now can understand without a manual. This often means avoiding overly clever folder names in favor of chronological or thematic structures.
- Consolidate: Move all digital files into one primary staging area on a computer or external solid-state drive (SSD).
- Standardize File Names: Use a format like YYYY-MM-DD-Event-Description. For example, "2026-06-15-High-School-Graduation-Alex.jpg" is much more searchable than "IMG_5432.jpg."
- Convert Formats: Convert proprietary or obsolete formats into open-standard files. Use .JPG or .TIFF for images, .MP4 for video, and .PDF/A for documents to ensure long-term compatibility.
- Apply Metadata: Use the "Properties" or "Get Info" tab to add tags or descriptions to files. This data stays with the file even if it is moved out of its original folder.
- Digitize Physical Media: Use a high-quality scanner (at least 600 DPI for photos) to create digital copies of paper records. For analog video, consider a professional transfer service to ensure the highest frame rate and color accuracy.
This systematic approach prevents the archive from becoming overwhelming. By tackling one "silo" at a time, such as one box of photos per weekend, the project remains manageable.
Managing Permissions and Shared Access
An archive is useless if the only person who knows the password is no longer able to share it. Planning access means creating a hierarchy of permissions. You should decide who has "view-only" access and who has "administrative" access to add or delete files. This is particularly important for sensitive documents like wills, property deeds, or medical histories.
Consider using a secure password manager to store the credentials for your primary archive. You can set up an "Emergency Access" feature—available in most reputable password management tools—that grants a trusted family member access after a specific waiting period. Additionally, physical redundancy is key. A secondary hard drive containing the archive should be stored in a different physical location, such as a fireproof safe or a relative's home, to protect against local disasters. Many families find that standard cloud storage apps still feel insufficient for this level of granular permission and long-term planning, as they often lack legacy contact features.
Avoiding Common Digital Preservation Mistakes
One of the most frequent errors is the "set it and forget it" mentality. Digital media can suffer from "bit rot," where data degrades over time, or the hardware itself can fail. Hard drives have a finite lifespan, often cited between three and five years for mechanical drives and slightly longer for SSDs. Relying on a single external drive without a cloud backup—or vice versa—is a significant risk.
Another mistake is failing to account for software obsolescence. If you save your family history in a proprietary word-processing format that is discontinued, you may lose the ability to open those files in 2035. Sticking to universal formats is the best defense. Furthermore, avoid using social media platforms as your primary archive. These sites often compress images, stripping away the quality needed for future printing, and your access is subject to the platform’s terms of service and continued existence. Understanding that the right backup software actually preserves the integrity and metadata of your records is vital for a professional-grade home archive.
National Archive Resources and Publications
For those who want to follow professional standards, the National Archives and Records Administration (NARA) provides extensive guidance on digital preservation. Their resources offer technical specifications for bitrates, resolution, and storage environments that can be adapted for home use. They recommend the "3-2-1 rule": keep three copies of your data, on two different types of media, with one copy stored off-site.
The Library of Congress also publishes "Personal Archiving" kits that help individuals navigate the complexities of preserving digital photographs and emails. These publications emphasize the importance of regular "refreshing" of data—moving files to new storage media every few years to ensure the hardware hasn't failed. Utilizing these institutional standards ensures that your family records are treated with the same rigor as historical government documents, providing the best possible chance for survival across generations.
Preserving Family Milestones with Canvsly
Building an archive is an ongoing commitment rather than a one-time task. As new milestones occur—a child’s first day of school, a graduation, or a family reunion—the archive must grow to accommodate them. This requires a toolset that prioritizes the narrative of a family’s life rather than just the raw data. At Canvsly, we focus on the intersection of memory and preservation, helping parents and families move away from the chaos of unorganized folders and toward a structured legacy.
By implementing a clear access plan today, you ensure that the creative accomplishments and academic awards of the present remain accessible for the future. Whether you are digitizing preschool artwork or organizing decades of digital video, the goal is to create a seamless bridge between generations. With the right approach to organization and a commitment to archival standards, your family’s digital history can remain a living, accessible resource for decades to come.